
Animation has become an increasingly popular medium for storytelling, education, marketing, and entertainment.
The good news is that you don’t need expensive tools to get started. With the advancement of technology, many free animation software options are available for beginners.
This guide will walk you through every step of creating your first animation, from planning and software selection to final rendering.
Whether you dream of crafting 2D hand-drawn animations or delving into 3D worlds, the process can be fun and rewarding.
Let’s dive in!
Why Start with Free Animation Software?
If you’re new to animation, starting with free software is a smart choice. It allows you to explore and experiment without financial investment.
Free tools often come with extensive community support, tutorials, and user forums, making them ideal for beginners.
Once you gain confidence and proficiency, you can decide whether to transition to paid tools for advanced features.
Moreover, many free animation tools are open-source, which means they’re frequently updated and improved by a passionate community of developers.
Step 1: Choose the Right Software
The first and most crucial step is selecting the animation software that suits your goals. Here are some of the best free animation tools:
Blender
Blender is an open-source 3D creation suite that offers tools for modeling, rigging, rendering, and animation.
It’s a fantastic choice if you’re interested in 3D animation, though it does have a steep learning curve.
With Blender, you can create professional-grade animations, and its robust community ensures plenty of learning resources.
Pencil2D
For those who want to dive into 2D animation, Pencil2D is an excellent option.
It’s user-friendly, lightweight, and perfect for hand-drawn animations. Its intuitive interface makes it a great starting point for beginners.
Krita
Krita is a powerful tool for digital art and 2D animation. It’s particularly suitable for frame-by-frame animation, offering a range of brushes and layers to bring your creations to life.
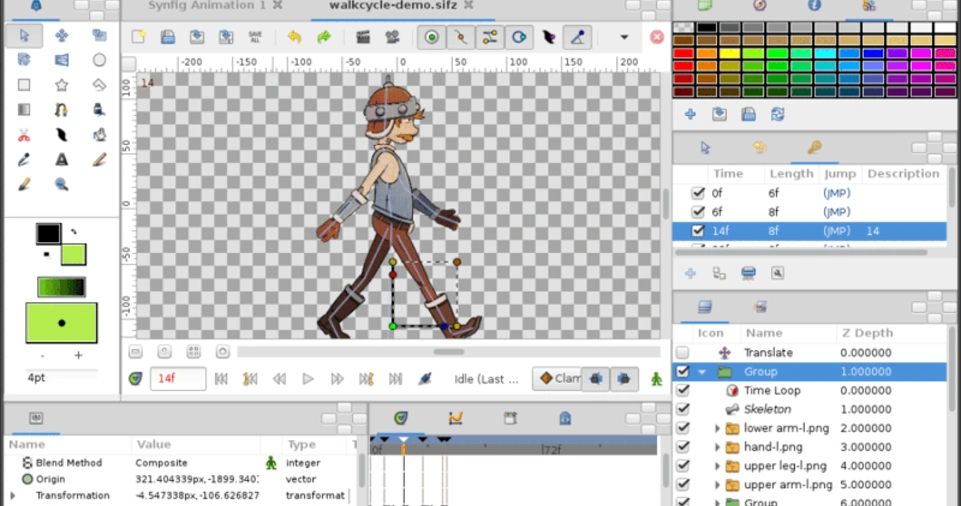
Synfig Studio
Synfig Studio specializes in vector-based animation, making it ideal for projects that require scalable, resolution-independent graphics.
It’s a step up from Pencil2D in terms of complexity but provides more advanced features.
Step 2: Plan Your Animation
Before diving into the software, take some time to plan your animation. A well-thought-out plan ensures a smoother workflow and helps you stay focused on your goals.
Storyboard Your Idea
Start by sketching a storyboard. This is a visual representation of the sequence of events in your animation.
Each panel in the storyboard should depict a key moment or action. Include notes on movement, dialogue, or sound effects to provide additional context.
Set a Clear Goal
Decide what you want to achieve with your animation. Are you telling a story, explaining a concept, or simply experimenting with the tools? Having a clear goal will guide your creative decisions.
Decide on the Length
For your first project, keep it short and manageable. A 5-10 second animation is an ideal starting point. This could be a bouncing ball, a simple walk cycle, or a waving character.
ALSO READ: How to Animate Without Fancy Software: Tips for DIY Animators
Step 3: Learn the Basics of Your Chosen Software
Once you’ve selected your software, spend some time learning its interface and features.
Most animation tools come with tutorials, documentation, and community support to help beginners.
Blender
- Explore tutorials on object manipulation, keyframe animation, and rendering.
- Learn how to use the timeline and dope sheet to control your animation.
- Experiment with Blender’s grease pencil tool for 2D-style animations within a 3D environment.
Pencil2D and Krita
- Practice drawing basic shapes and characters.
- Learn how to create frame sequences and use onion skinning to see previous frames while working.
- Familiarize yourself with layers to separate different elements of your animation.
Synfig Studio
- Study keyframe creation and vector tools.
- Understand how to use bones for character rigging and smooth movement.
- Experiment with Synfig’s gradient and filter effects to enhance your animations.
Step 4: Create Your Animation
Now comes the fun part: bringing your vision to life.
Here’s a step-by-step process to create your animation:
Set the Frame Rate
The frame rate determines how many frames are displayed per second.
Standard frame rates include:
- 12 FPS: Suitable for simple animations.
- 24 FPS: Common for professional animations and films.
Draw Keyframes
Keyframes are the main frames that define significant movements or actions. For instance, if you’re animating a character jumping, the keyframes would show the starting position, mid-air pose, and landing.
Add In-Between Frames
Once your keyframes are set, create in-between frames to make the motion smooth. This process, known as “tweening,” can be done manually in 2D animation or automatically in software like Synfig Studio.
Use Layers
Layers allow you to separate different elements, such as the background, character, and props. This makes editing easier and provides flexibility during the animation process.
Step 5: Add Effects and Sound

Enhancing your animation with effects and sound can make it more engaging and polished.
Visual Effects
Experiment with lighting, shadows, and motion blur to add depth to your animation. Tools like Blender offer particle effects for creating fire, smoke, or explosions.
Sound Design
Use free audio tools like Audacity to edit and add sound effects or background music. Synchronize the sound with your animation to create a cohesive experience.
Step 6: Export Your Animation
Once your animation is complete, it’s time to export it. Most software allows you to choose the format, resolution, and quality settings.
Common Formats
- MP4: Ideal for videos shared online.
- GIF: Suitable for short, looping animations.
Resolution Settings
For online platforms, export your animation in 1080p (1920×1080 pixels) to ensure high-quality playback.
Step 7: Share and Improve
Congratulations! You’ve created your first animation. Now it’s time to share your work and gather feedback.
Publish Your Animation
Upload your animation to platforms like YouTube, Instagram, or TikTok. Consider sharing it on forums or communities dedicated to animation for constructive feedback.
Learn from Feedback
Take notes on areas for improvement and apply them to your next project. Animation is a skill that improves with practice and experimentation.
ALSO READ: Introduction to Simple Animation Apps for Beginners
Conclusion
Creating your first animation using free software is an exciting journey that unlocks endless creative possibilities.
By following these detailed steps—from choosing the right software to sharing your masterpiece—you can confidently bring your ideas to life.
Remember, animation is a skill that grows with practice, so keep experimenting and pushing your boundaries.
Ready to get started? Choose your software, sketch your ideas, and dive into the world of animation today!