
Animation is an incredible medium that allows you to bring your imagination to life.
From entertaining short clips to compelling visual stories, animation has become more accessible than ever, thanks to digital tools.
You don’t need expensive professional gear or years of expertise to start creating animations.
With the right approach, free or affordable software, and a bit of creativity, anyone can venture into the world of animation.
This guide will walk you through the essential steps to create animations using basic digital tools, offering practical tips and recommendations for beginners.
Whether you’re an aspiring animator, a hobbyist, or someone looking to add creative flair to your projects, this guide will show you how to use accessible tools and techniques to achieve impressive results.
Let’s explore how you can turn your ideas into animated masterpieces without breaking the bank or relying on high-end equipment.
What Type of Animation Should You Create?
Before diving into the tools and techniques, it’s crucial to decide on the type of animation you want to create.
Each animation style has its unique charm and requires slightly different tools and approaches.
Here are the most common types to consider:
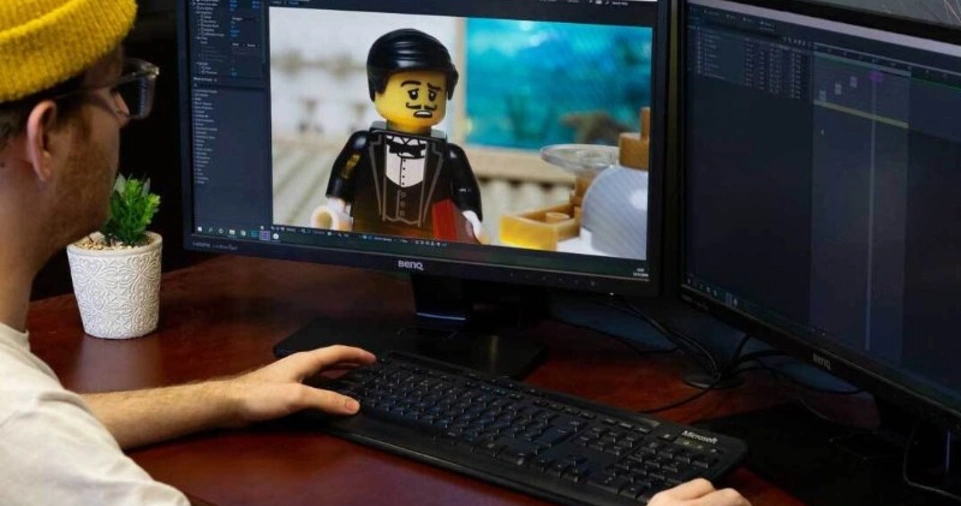
Stop-Motion Animation
Stop-motion involves photographing physical objects or drawings frame by frame and then playing these images in sequence to create motion.
This style is perfect for beginners because it doesn’t require drawing skills—just a camera (even a smartphone) and some creativity.
You can use toys, clay, paper cutouts, or even everyday objects to create your scenes.
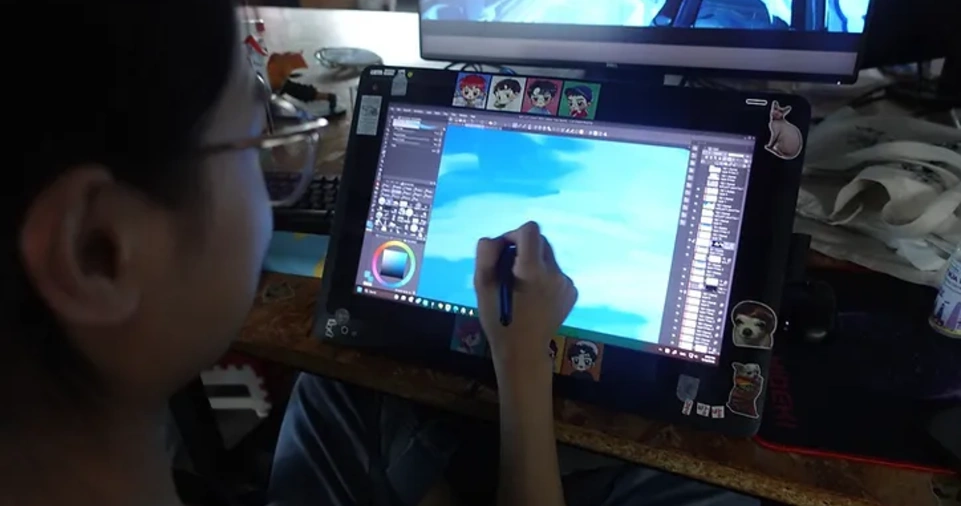
2D Hand-Drawn Animation
This traditional style involves drawing each frame by hand, either digitally or on paper.
It’s ideal for those who enjoy sketching and want complete creative control.
While it can be time-consuming, modern tools simplify the process by allowing you to duplicate and tweak frames.
Motion Graphics Animation
Motion graphics are all about animating text, shapes, and simple graphics.
This style is popular for explainer videos, presentations, and social media content.
It’s less about storytelling and more about creating visually appealing effects and transitions.
Cutout Animation
In cutout animation, characters and objects are created using flat, digital or paper cutouts.
These are moved in pieces, making it a simpler alternative to full-frame-by-frame animation.
Deciding on your preferred style will help you choose the right tools and focus your learning efforts effectively.
Essential Animation Tools for Beginners
Creating animations without professional gear is entirely possible if you leverage the right tools.
Here are some accessible and beginner-friendly options for different animation styles:
2D Animation Software
Krita:
A free and open-source tool designed for digital drawing and animation.
Krita’s intuitive interface and robust features make it a favorite for hand-drawn animations.
Pencil2D:
Another free option, Pencil2D offers a lightweight and easy-to-use interface for creating frame-by-frame animations.
Stop-Motion Tools
Stop Motion Studio:
Available for smartphones and tablets, this app simplifies the stop-motion process with intuitive controls and built-in editing features.
iMotion:
Another great app for stop-motion, offering time-lapse capabilities and easy export options.
Motion Graphics and Video Editing Tools
- Canva: Known for its design templates, Canva also includes basic animation tools for text, images, and graphics.
- DaVinci Resolve: A powerful, free video editor that includes tools for creating animations and adding effects.
- Blender: While more advanced, Blender is a free 3D animation tool that also supports 2D and motion graphics workflows.
By starting with free or low-cost software, you can experiment and learn without a significant investment.
Accessible Hardware for Animation
Animation doesn’t require a high-end studio. Here are some affordable and accessible hardware options to get you started:
Smartphones and Tablets
Most smartphones today come with excellent cameras, making them perfect for stop-motion projects.
Tablets, especially those with stylus support like iPads, are great for drawing and 2D animation.
Entry-Level Drawing Tablets
Drawing tablets like the Wacom One, Huion, or XP-Pen offer an affordable way to create digital drawings with precision.
These devices connect to your computer and act as a digital canvas.
Computers and Laptops
Ensure your computer has enough processing power to handle animation software.
For most beginner tools, even a basic laptop can suffice. If you plan to work with heavier tools like Blender, aim for a device with a decent GPU.
ALSO READ: Top 4 Best Cameras for Stop-Motion Animation (For Beginners)
Planning Your Animation Project
Successful animation starts with proper planning. This step is crucial, especially when working with limited resources, as it minimizes errors and saves time.
Here’s how to plan effectively:
Develop a Concept
What story or message do you want to convey? Define your animation’s purpose and target audience.
Whether it’s a short comedic clip, an explainer video, or a creative experiment, having a clear goal will guide your work.
Create a Storyboard
A storyboard is a visual outline of your animation. Sketch out each major scene or frame to visualize the sequence of events.
You don’t need detailed artwork; simple stick figures or shapes will do.
Write a Script
If your animation includes dialogue or narration, write a concise script. This will ensure your animation flows naturally and stays focused.
Plan Your Timing
Animation requires careful timing to appear smooth and natural. Decide how long each frame or scene will last.
For example, most animations run at 24 frames per second (fps), so a 5-second clip would need 120 frames.
Step-by-Step Animation Process
Once your plan is ready, it’s time to start animating.
Here’s a step-by-step guide:
Create Keyframes
Keyframes are the most important poses or scenes in your animation.
For example, if you’re animating a bouncing ball, the keyframes would include the ball at its highest point and when it hits the ground.
Add In-Between Frames
In-between frames, or “inbetweens,” fill the gaps between keyframes to make the motion smooth.
Many tools offer features like onion skinning to help you align your frames.
Compile and Preview
Once your frames are ready, compile them into a sequence.
Preview the animation to ensure the timing and flow are correct. Adjust as needed.
Add Effects and Sounds
Enhance your animation by adding sound effects, music, or voiceovers. Tools like Audacity and GarageBand are great for editing audio.
Export Your Animation
Save your animation in a common format like MP4 or GIF. Ensure the resolution and quality settings match your intended platform (e.g., HD for YouTube).
Tips for Improving Your Animations
- Start Small: Focus on short animations to build your skills before tackling longer projects.
- Leverage Tutorials: YouTube and other online platforms offer countless tutorials for beginners.
- Experiment with Lighting and Colors: For stop-motion, good lighting can make a significant difference. For digital animation, play with color palettes to create mood and atmosphere.
- Practice Regularly: Animation is a skill that improves with practice. Set aside time to work on small projects consistently.
Sharing Your Creations
Once your animation is complete, share it with the world! Social media platforms like Instagram, TikTok, and YouTube are perfect for showcasing your work.
Join animation communities online to receive feedback and connect with other creators.
ALSO READ: Mobile Animation Made Easy: 5 Powerful Apps for Creative Success
Last Words
By following this guide and using accessible tools, you can start creating animations that captivate and inspire.
The key is to stay patient, enjoy the learning process, and let your creativity shine. Are you ready to bring your ideas to life through animation?