
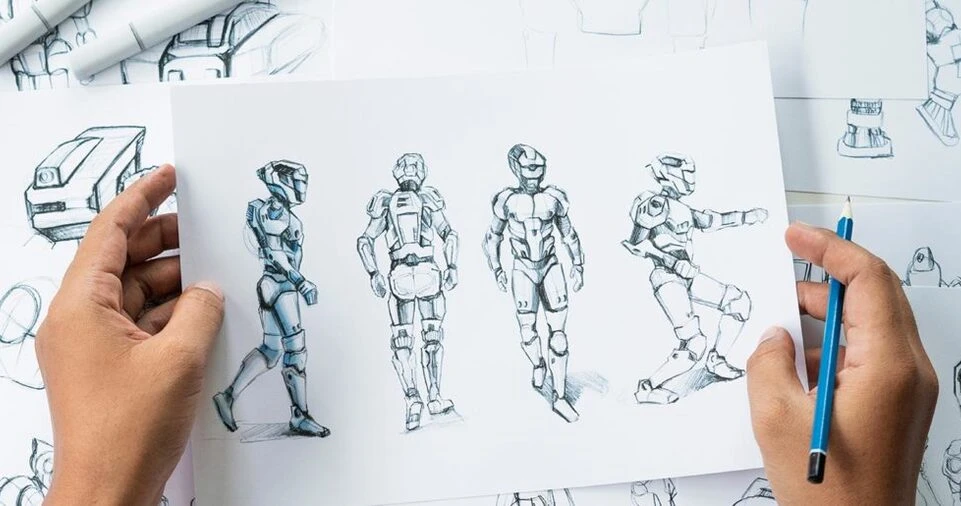
Animations is an art form that has captivated audiences for generations, bringing still images to life through movement.
While traditional animation can seem daunting due to the complexity of tools, techniques, and time involved, creating simple animations with just a few drawings is an excellent way to get started.
This method is not only beginner-friendly but also allows for creative expression without requiring expensive equipment or advanced skills.
Simple animations focus on key movements, making the process manageable and effective.
Whether you’re sketching on paper, using digital tools, or trying your hand at flipbooks, the magic of animation lies in its ability to tell a story or convey a concept in a visually engaging way.
In this guide, we’ll walk you through a detailed, step-by-step process to create simple animations with minimal resources.
By the end, you’ll have the tools and knowledge to bring your ideas to life, even if you’re a complete beginner.
Understanding the Basics of Animation
What is Animation?
Animation is the process of creating the illusion of motion by displaying a series of images in rapid succession.
Each image is slightly different from the one before it, and when viewed together, they create a seamless visual flow.
The foundation of animation lies in the principle of persistence of vision—the idea that the human eye retains an image for a fraction of a second after it disappears.
This phenomenon allows us to perceive continuous motion when images are shown quickly.
Frame Rate and Its Importance
One critical aspect of animation is the frame rate, measured in frames per second (fps). The frame rate determines how smooth the animation appears.
Common frame rates include:
- 12 fps: Ideal for simple animations, providing a balance between effort and smoothness.
- 24 fps: The standard for professional animations and films, offering fluid motion.
- 6 fps: Works well for basic animations, giving a slightly choppy, stylized effect.
Choosing the right frame rate depends on your goals and the level of detail you want to achieve. For beginners, starting with a lower frame rate simplifies the process.
Keyframes and In-Between Frames
Animations are built around keyframes and in-between frames. Keyframes represent the most important moments in an animation, such as the highest and lowest points of a bouncing ball.
In-between frames, also known as “tweens,” fill the gaps between keyframes to make the motion smooth and natural.
Understanding this structure helps break down even complex movements into manageable steps.
Planning Your Animation
Storyboarding: The Blueprint of Animation
Before diving into drawing, it’s essential to plan your animation through a storyboard.
A storyboard is a visual representation of your animation’s sequence, allowing you to map out each scene or movement.
Here’s how to create a storyboard:
- Define Your Idea: Think about the story or action you want to convey. For example, will it be a bouncing ball, a character waving, or a blinking eye?
- Sketch Key Moments: Draw rough sketches of the major stages in your animation. These are your keyframes.
- Sequence the Frames: Arrange your sketches in chronological order to visualize how the animation will flow.
Storyboarding not only saves time but also ensures you have a clear direction before starting the actual drawing process.
Focusing on Simplicity
When creating simple animations, less is often more. Instead of attempting complex movements or intricate designs, concentrate on straightforward actions like:
- A bouncing ball
- A waving hand
- A blinking eye
These actions require only a few keyframes, making them ideal for beginners. Starting small helps you grasp the fundamentals without feeling overwhelmed.
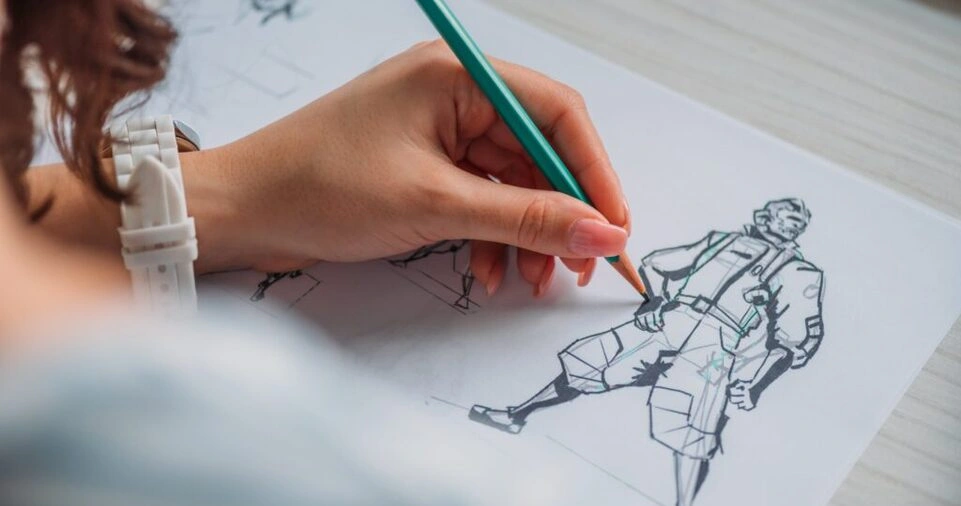
Drawing Your Frames
Starting with Keyframes
Keyframes are the backbone of your animation. Begin by identifying the most critical points of the movement you’re animating.
For instance:
- In a bouncing ball animation, the keyframes would include the ball at the top of its arc, at the point of impact with the ground, and mid-rebound.
- For a waving hand, the keyframes might show the hand at its lowest point, at the peak of the wave, and returning to rest.
Draw these keyframes first, ensuring each one clearly represents the movement’s pivotal moments.
Adding In-Between Frames
If your animation feels too abrupt, add in-between frames to smooth the transitions between keyframes.
These drawings should gradually change the position or shape of objects to bridge the gap between key movements.
For example:
- When animating a bouncing ball, in-between frames could show the ball descending or ascending between the highest and lowest points.
- For a waving hand, in-betweens could depict the hand moving through intermediate positions.
The more in-between frames you add, the smoother your animation will appear.
Keeping Your Drawings Consistent
Consistency is crucial for a polished animation.
To maintain uniformity:
- Use reference points or guidelines, such as a horizon line, to ensure objects stay aligned.
- Practice drawing the same shapes and characters repeatedly to build muscle memory.
- Work with onion skinning if using digital tools; this feature lets you see previous and next frames as semi-transparent overlays.
ALSO READ: What is Blender? An Easy Introduction to 3D Animation Software
Using Simple Tools for Animation
Paper Flipbooks
One of the most accessible methods for creating animations is using a flipbook.
To make a flipbook:
- Gather a stack of small papers or sticky notes.
- Draw your frames sequentially, with each drawing slightly different from the previous one.
- Flip through the stack quickly to watch your animation come to life.
Flipbooks are a fun and inexpensive way to experiment with animation basics.
Digital Drawing Software
For those who prefer a digital approach, numerous tools and apps are available:
- Procreate (iOS): A versatile app with animation assist features, ideal for creating simple animations.
- FlipaClip (iOS, Android): Designed for beginners, offering an intuitive interface and onion skinning.
- Krita (Windows, Mac, Linux): A free, open-source drawing software with powerful animation tools.
These tools simplify the animation process and provide features like layers, playback, and easy frame adjustments.
Online Animation Platforms
Web-based tools like Canva and Pencil2D are excellent for quick, simple animations. They’re user-friendly and require no downloads, making them perfect for beginners.
Testing and Refining Your Animation
Previewing Your Work
As you draw your frames, regularly test your animation by playing it back.
This step allows you to:
- Check for smoothness and natural motion.
- Identify any inconsistencies or awkward transitions.
Most digital tools have a preview function, while flipbooks can be manually flipped to review progress.
Adjusting Timing
Timing is a vital aspect of animation. Experiment with the duration of each frame to achieve the desired effect.
For example:
- Hold a keyframe longer to emphasize a pause or dramatic moment.
- Shorten the duration of in-between frames for quicker, snappier movements.
Fine-tuning the timing can significantly enhance the overall quality of your animation.
Adding Finishing Touches
Coloring and Detailing
Once your animation flows smoothly, consider adding colors and details to enhance its visual appeal.
Use:
- Flat colors for a clean, simple look.
- Gradients or shading for added depth.
If you’re working digitally, layers can help separate line art, colors, and backgrounds for easier adjustments.
Exporting Your Animation
Save your finished animation in a shareable format, such as a GIF or video file. Most digital tools provide options for exporting directly to social media platforms or saving locally.
Examples of Simple Animations
Here are some beginner-friendly animation ideas:
A Bouncing Ball
- Draw 4-5 frames showing the ball at different stages: top of the arc, mid-fall, point of impact, and rebound.
A Blinking Eye
- Create 2 frames: one with the eye open and one with it closed. Add a few in-between frames for a smooth blink.
A Waving Hand
- Draw 3 keyframes: the hand at its lowest point, at the peak of the wave, and returning to rest. Add in-betweens if needed.
ALSO READ: How to Tell a Story Through Animation: The Basics of Storytelling
Conclusion
Creating simple animations with just a few drawings is an accessible and rewarding way to explore the world of animation.
By focusing on keyframes, using basic tools, and practicing consistency, you can bring your ideas to life with minimal effort.
Whether you’re making a flipbook or using digital software, the possibilities are endless.
Start small, refine your skills, and enjoy the process of turning your imagination into motion.
Animation is not just an art form—it’s a journey of creativity and discovery.