Animation is a captivating art form that brings still images to life, allowing stories, ideas, and creativity to unfold in a dynamic and engaging way.
While modern technology has made digital animation tools more accessible, the magic of traditional hand-drawn animation remains timeless.
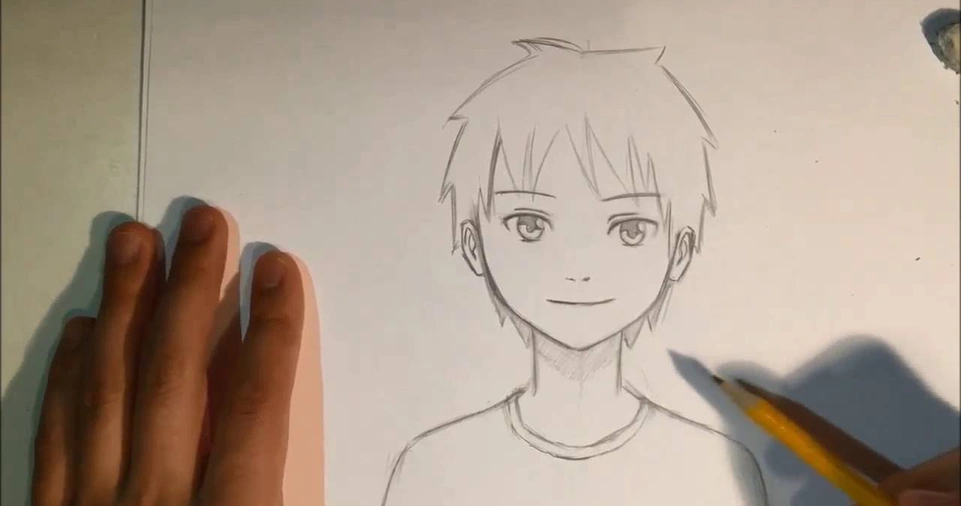
For beginners, creating your first animation with just a pencil and paper is a great way to understand the fundamentals of motion, timing, and storytelling.
This guide will walk you through every step of the process, from conceptualizing your idea to bringing it to life in a simple yet rewarding way.
By the end, you’ll have your own handmade flipbook animation and a deeper appreciation for the artistry behind animated films.
Creating animations on paper may seem daunting at first, but it’s easier than you think.
With basic materials like paper, a pencil, and a little patience, you can make your first animation project a success.
Whether you want to animate a bouncing ball, a stick figure dancing, or a flower blooming, this step-by-step guide will help you unleash your inner animator and bring your imagination to life.
Let’s dive into the process and discover how to create your first animation using just pencil and paper.
Materials Needed to Create Your Animation
Before diving into the process, gather all the materials you’ll need. The beauty of traditional animation lies in its simplicity, so you won’t require expensive equipment.
Here’s a list of what you need:
- Pencil: Use a regular graphite pencil with a sharp tip for precision. A mechanical pencil can be even better for consistent lines.
- Paper: Choose small, uniform-sized sheets of paper. Sticky notes work great because they’re already compact and easy to flip. Alternatively, you can cut regular paper into smaller pieces.
- Eraser: Mistakes are part of the process. Having a good eraser handy will allow you to make corrections.
- Binder Clips or Rubber Bands: These will hold your stack of papers together to create a flipbook effect.
- Light Source (Optional): A light table or a sunny window can help you align your drawings by tracing through the paper.
Having these materials ready ensures a smooth and enjoyable animation process. Now, let’s move on to the creative part: planning your animation.
Step 1: Plan Your Animation Idea
Every great animation starts with a clear idea.
Planning your animation helps you stay organized and makes the process more enjoyable.
For your first project, keep it simple.
Here are a few beginner-friendly ideas to consider:
- A Ball Bouncing: This classic animation teaches you about arcs, timing, and squash-and-stretch principles.
- A Flower Blooming: Practice illustrating gradual changes with this serene and simple concept.
- A Stick Figure Waving: Focus on character motion and expressiveness with this easy idea.
Storyboarding Your Idea
While a formal storyboard isn’t necessary for a short flipbook animation, sketching out a rough sequence of events can be helpful.
Think about how many frames your animation will require.
For example, if your animation is 2 seconds long and you want smooth motion, aim for 12 frames per second (FPS).
This means you’ll need about 24 drawings for your animation.
Ask yourself:
- What’s the starting position?
- What movements or transformations will occur?
- How will the animation end?
Having a clear vision of your animation will make the drawing process much smoother.
ALSO READ: Top 4 Best Cameras for Stop-Motion Animation (For Beginners)
Step 2: Create Your Frames
The core of animation is creating individual frames that, when flipped rapidly, create the illusion of motion.
Follow these steps to start drawing your frames:
Drawing the First Frame
Take your first sheet of paper and draw the starting position of your object.
For example, if you’re animating a bouncing ball, draw the ball at the top of its arc.
Adding Subsequent Frames
Place the second sheet on top of the first. Align it carefully so that the positions of the drawings match.
This is where using a light source can help you see through the paper to trace or align your objects accurately.
Draw the ball slightly lower than in the first frame to show its downward motion.
Repeat this process for all the frames, making small adjustments to the position or shape of the object to indicate movement.
For instance:
- As the ball approaches the ground, draw it stretching slightly to convey speed.
- When the ball hits the ground, squash it slightly to show impact.
- After the bounce, stretch the ball again as it rises back up.
These subtle changes create the illusion of motion and give your animation personality.
Using Onion Skinning
If you don’t have a light source, you can simulate onion skinning by lightly sketching the previous frame on each sheet as a reference.
This technique ensures smooth transitions between frames.
Step 3: Understand Timing and Spacing
Timing and spacing are critical to making your animation look natural and engaging.
Here’s how to master these concepts:
Timing
Timing refers to how long an action takes.
For example, a ball bouncing quickly will require fewer frames, while a slower bounce will need more frames to stretch the action over time.
Consistent timing ensures smooth and realistic motion.
Spacing
Spacing refers to the distance between your drawings.
Adjusting the spacing creates different effects:
- Wide Spacing: Indicates faster movement. For example, a ball falling due to gravity will move faster as it approaches the ground.
- Narrow Spacing: Indicates slower movement. For example, at the top of a bounce, the ball’s motion slows down.
To experiment with timing and spacing, try creating a test animation where the object speeds up and slows down.
This practice will help you understand how to make movements more dynamic.
Step 4: Assemble Your Flipbook
Once all your frames are drawn, it’s time to assemble your animation into a flipbook.
Here’s how:
Stack Your Pages
Arrange the papers in order, with the first frame on top and the last frame at the bottom. Make sure the edges are aligned for a clean flip.
Secure the Stack
Use binder clips, rubber bands, or even tape to hold the stack together.
Secure one side tightly so the pages flip easily from the opposite edge.
Test Your Animation
Hold the stack firmly and use your thumb to flip through the pages quickly.
Watch as your drawings come to life! If something doesn’t look right, identify the frame that needs adjustment and redraw it.
Step 5: Refine and Add Details

Now that your basic animation is complete, you can refine it by adding details:
- Shading: Add shadows or highlights to give your animation depth and dimension.
- Backgrounds: Draw simple backgrounds to create a setting for your animation.
- Effects: Incorporate motion lines, speed trails, or small details like leaves falling to enhance the animation’s realism.
Step 6: Record and Share Your Animation
To preserve your flipbook animation, consider recording it with your smartphone or camera.
Here’s how:
- Set up your phone on a stable surface to record your animation as you flip through the pages.
- Ensure good lighting for clear visibility.
- Edit the video to adjust the playback speed if needed.
- Share your animation with friends or post it on social media to showcase your creativity.
Advanced Tips for Aspiring Animators
If you’re ready to take your animation skills to the next level, try these tips:
Experiment with Perspective
Practice animating objects moving toward or away from the viewer. This adds a sense of depth to your animation.
Study Animation Principles
Learn the 12 principles of animation, such as squash and stretch, anticipation, and follow-through.
These principles will elevate your work from basic to professional.
Move to Digital Tools
Once you’ve mastered hand-drawn animation, consider exploring digital tools like Adobe Animate, Blender, or Procreate to expand your creative possibilities.
ALSO READ: How to Use Basic Digital Tools for Animation (Without Professional Gear)
Conclusion
Creating your first animation using only a pencil and paper is an enjoyable and educational experience that introduces you to the art of storytelling through motion.
By following this guide, you’ll not only complete your first flipbook animation but also gain a solid understanding of the animation process.
With practice and patience, you can hone your skills and create increasingly complex and expressive animations. So grab your pencil and paper, and start animating today!