Animated videos are powerful tools for communication, capable of delivering complex messages in an engaging and digestible format.
Whether you’re creating a video for marketing, education, or personal expression, understanding the production process is key.
This comprehensive guide will walk you through every step, from scriptwriting and storyboarding to animation and final export, ensuring you have all the information you need to create a stellar animated video.
Step 1: Create a Stellar Script and Storyboard
Crafting a Winning Script
Just as a blueprint guides the construction of a building, a well-written script forms the foundation of your animated video.
Your script should outline every scene, dialogue, and action, ensuring your vision comes to life as intended.
Before you dive into scriptwriting, follow these steps for clarity and direction:
- Define Your Purpose:
- Why are you creating this animated video?
- What objectives do you want to achieve?
- Understand Your Audience:
- Who is the target audience?
- What tone and style will resonate with them?
- Identify the Call-to-Action (CTA):
- What action should viewers take after watching the video?
- Simplify Your Core Message:
- What is the primary takeaway you want to communicate?
- Convert this into a concise, engaging story.
A strong script contains three key elements:
- The Hook: Grab your audience’s attention in the first 8-10 seconds.
- The Patty: Deliver the main message and ensure it’s compelling enough to maintain interest.
- The CTA: Conclude by guiding viewers toward the desired action, whether it’s subscribing, visiting a website, or making a purchase.
Developing a Storyboard
A storyboard visualizes your script scene by scene, offering a sneak peek into how the final video will look. It’s like a comic strip that outlines key scenes, dialogues, and actions.
Why Use a Storyboard?
Storyboarding helps predict the effectiveness of your concept, enabling you to tweak visuals and script before production.
How to Create One?
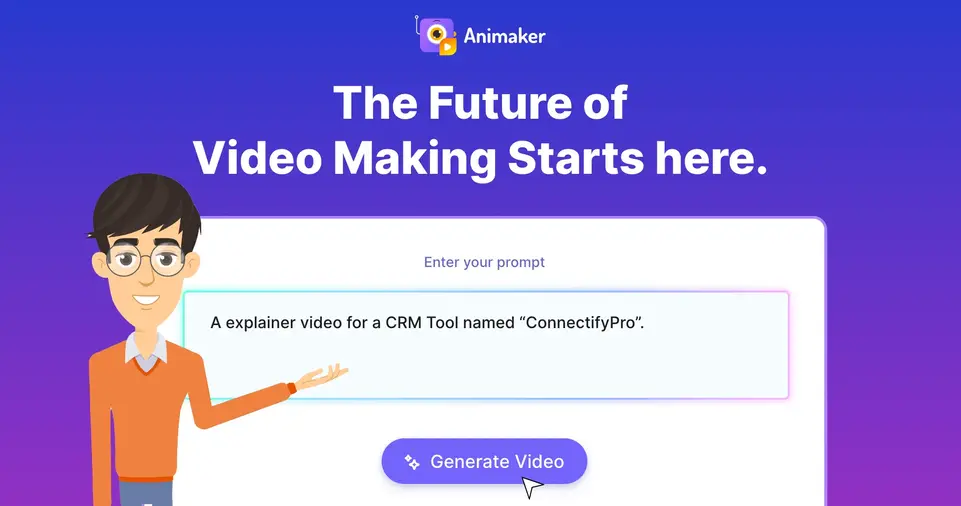
Traditional hand-drawn storyboards can be messy if you lack sketching skills. Instead, use online tools like Animaker, which simplifies the process with drag-and-drop functionality. Animaker even allows you to convert your storyboard into an animated video.
ALSO READ: Exploring the Different Types of Animation: 2D, 3D, Stop Motion, and More
Step 2: Animate Your Video

Animation is where your script and storyboard come to life. There are three primary approaches to animating videos, each with its pros and cons:
Option 1: Hire an In-House Team
- Best for businesses with recurring animation needs and substantial budgets.
- Requires investment in equipment, software, and talent.
- Offers complete creative control but can be expensive and time-intensive.
Option 2: Outsource to an Animation Studio
- Ideal for one-time projects with a flexible budget.
- Quality and timeline depend on the studio’s expertise and understanding of your vision.
- Costs can increase for tight deadlines.
Option 3: Do-It-Yourself (DIY) Animation
- Perfect for those on a lean budget.
- Tools like Animaker allow you to create professional-quality videos using templates or from scratch.
- Easy to use with no design expertise required.
How to Make Animated Videos Using Animaker
Animaker is a versatile DIY tool that simplifies video creation. Below, we explore two methods:
- Editing Pre-Built Templates
- Creating A Video From Scratch
Method 1: Editing a Template
Editing a template is ideal if you’re short on time or prefer a ready-made structure.
Animaker offers over 1,000 templates for various categories like social media, corporate videos, and more.
- Sign Up or Log In
Visit Animaker’s website to sign up or log in. - Explore the Dashboard
Browse templates and preview options by hovering over them. - Select a Template
Search for a relevant template, such as “explainer,” and customize it to fit your needs. - Edit Text and Characters
- Modify text by clicking on it and adjusting font, size, and color.
- Change or customize characters using Animaker’s library or create your own from scratch.
- Adjust Scene Duration
Use the timeline to extend or shorten the duration of scenes and animations. - Add Background Music
Replace the default track with one from Animaker’s library, which includes over 30,000 royalty-free options. - Preview and Export
Use the preview feature to review your video before exporting it.
Method 2: Creating a Video from Scratch
For a fully custom experience, start from a blank project and build your animation step by step.
- Open a Blank Project
Launch a new project from the Animaker dashboard. - Add Backgrounds and Characters
Choose from Animaker’s extensive library of backgrounds and characters, or customize your own. - Incorporate Actions and Expressions
Bring characters to life with over 1,000 actions and 20+ expressions. - Sync Voice-Overs
- Record directly within Animaker.
- Use the built-in text-to-speech engine with customizable accents and tones.
- Upload a pre-recorded voice-over and sync it with your characters.
- Add Animations and Transitions
Use tools like Smart Move to animate assets and create seamless transitions between scenes. - Final Touches
- Add music, sound effects, and text overlays.
- Preview the entire video to ensure everything flows smoothly.
- Export Your Masterpiece
Once satisfied, export your video in the desired resolution and format.
ALSO READ: The Power of Animation in Communication: Why It Works
Conclusion
Creating animated videos doesn’t have to be daunting. With a clear script, thoughtful storyboard, and tools like Animaker, anyone can produce high-quality animations, whether by customizing templates or starting from scratch.
Whether you’re a business owner, educator, or creative enthusiast, this guide equips you with everything needed to create captivating animated content.
Start your animation journey today and transform your ideas into engaging visual stories!